Moving forwards
|
16.01.17
Preproduction, research and development For moving forwards I would like to recreate one of my favorite scenes from the film Limitless, it opens with a continuous, seemingly endless zoom shot that weaves though the streets of New York, past pedestrians, under construction scaffolding though blocks and block of blinking lights and hubbub, though the back windows of taxicabs and though times square. The after doing some research online I found an article with the visual effects producer Josh Comen and visual effects supervisor Tim Carras. After the process is called fractal zoom or infinity zoom, their rig was of three Red cameras mounted side by side on single tripod, and each one had a different lens on it a wide-angle section of the street, a medium, and a close-up. They’re all recording the same movement wow. So there isn’t many tutorials on the internet how to do this effect, I am going to do two versions of this effect one with video and one with pictures to see what they turn out like. I would like to use 4K video as it has so much detail I won’t loose any quality when zooming in, compared to 1080p where I could loose more detail. For the pictures I will be using my camera with my 16-55mm kit lens but this might change on the day. The VFX software I will be using Adobe after effects for this process, I then I will be editing in Adobe premier |
Links
https://www.quora.com/How-was-the-infinite-zoom-title-sequence-of-Limitless-produced http://www.techhive.com/article/223108/limitless_infinite_zoom.html |
The location is going to be Carlisle at multiple areas seeing what work best for the concept.
20.01.17
Production, filming
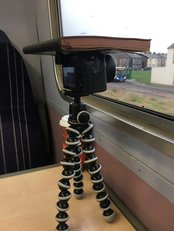
I set up the camera on the train for the video timelapse. I was using the histogram to help me because the coIour, saturation and exposure are flat because I have my own person picture profile on the camera to help create a dynamic range for colour grading. I ran in a problem the was trains moving up and down and side to side, they aren't smooth so I had to try and weigh the top of the camera down to create more stability, in post I can use warp stabiliser to try and counter the shaking. So I leant today that my camera has a 30-minute record limit I should of researched this before I started this time lapse as it was going to last about an hour.
Production, filming
I set up the camera on the train for the video timelapse. I was using the histogram to help me because the coIour, saturation and exposure are flat because I have my own person picture profile on the camera to help create a dynamic range for colour grading. I ran in a problem the was trains moving up and down and side to side, they aren't smooth so I had to try and weigh the top of the camera down to create more stability, in post I can use warp stabiliser to try and counter the shaking. So I leant today that my camera has a 30-minute record limit I should of researched this before I started this time lapse as it was going to last about an hour.
|
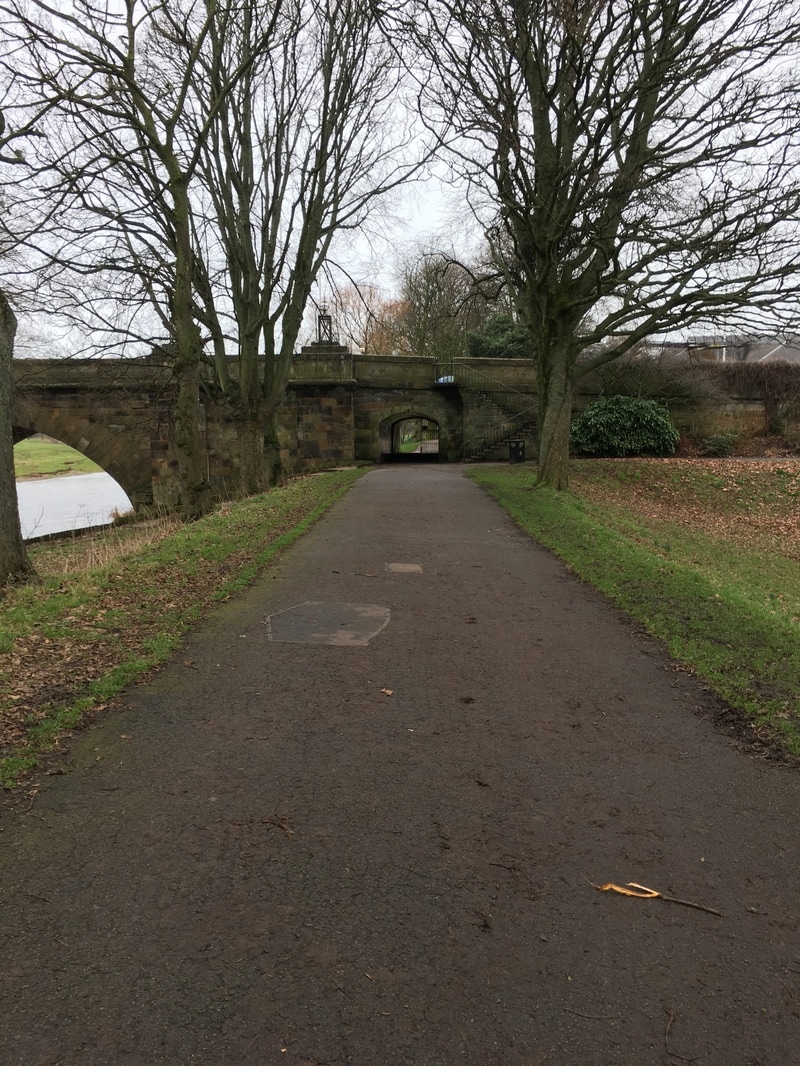
I arrived at college, hired out a tripod and headed to Britts Park to record the footage. I set up the tripod and camera starting at the bottom end if the park and working my way up. I was recording for 20 seconds at a time then moving forward 10 paces. I had to constantly readjust the tripod head to make sure it was level because the ground was uneven this might cause a problem in editing as the continuity might be off center in the zoom.
|
|
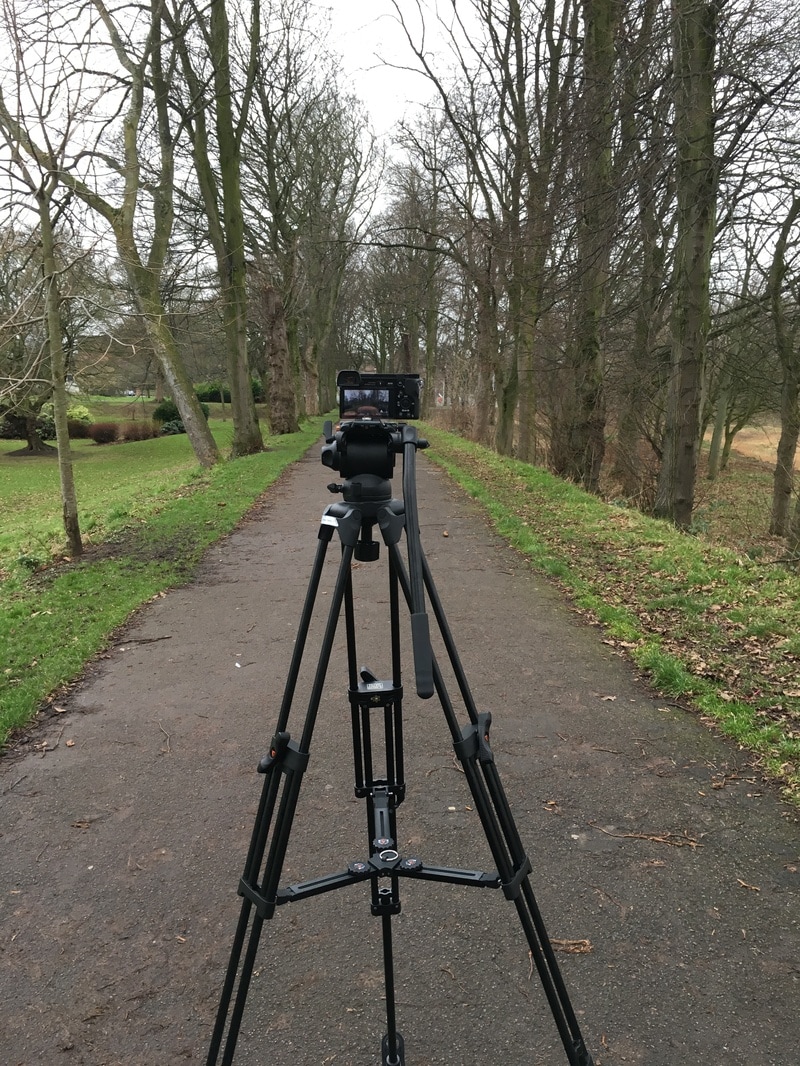
Overall the filming had taken me just over an hour I packed up the tripod and headed back to college to give back the tripod to review the footage.
Next I will start the long process of editing the pictures together.
Evaluation
Today was good production day everything went as planned, except for a few problems with the train and the ground being uneven but they are out of my hands everything I planned worked.
Next I will start the long process of editing the pictures together.
Evaluation
Today was good production day everything went as planned, except for a few problems with the train and the ground being uneven but they are out of my hands everything I planned worked.
|
03.01.17
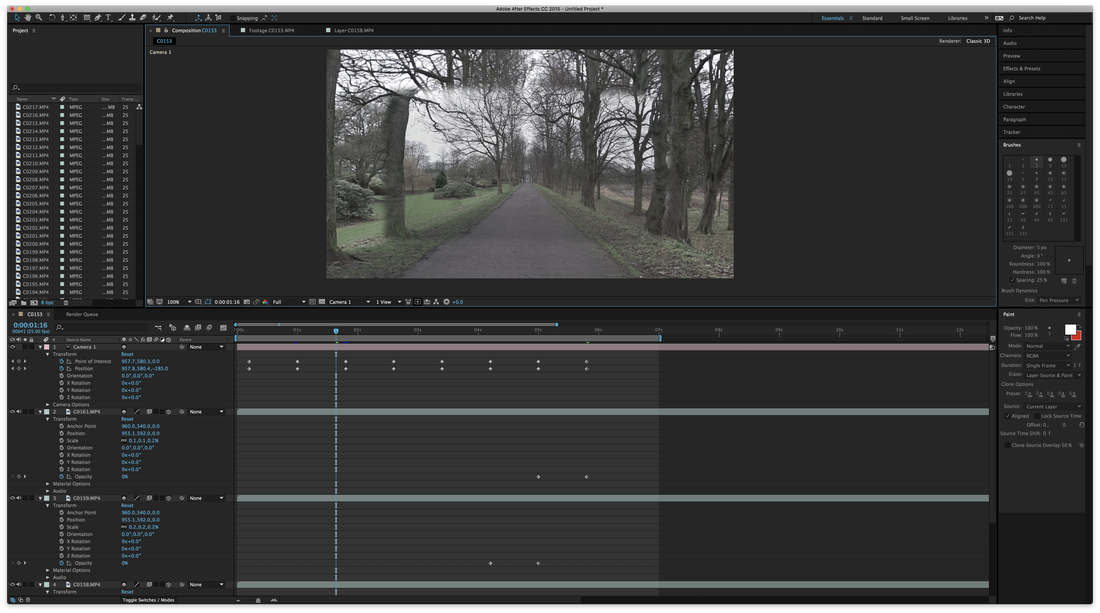
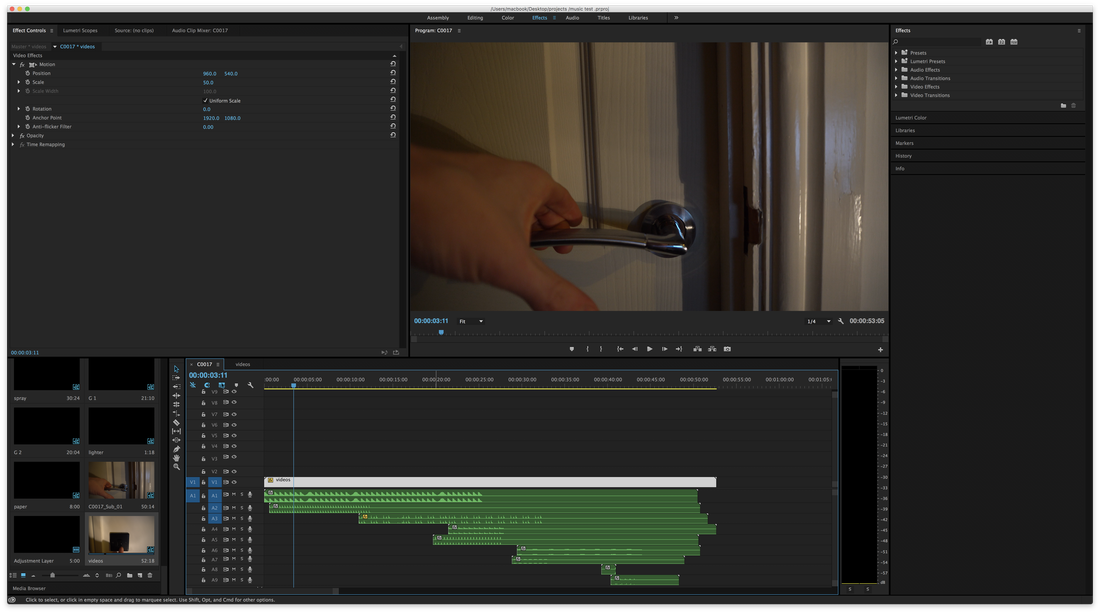
Postproduction, editing The most complex part of the experiment is editing it together in Abobe After Effects; there aren’t many tutorials online to follow. I am going to try and adapt a zooming technique I learnt. To start I imported the footage in to the software turned off viewing on all of the videos to keep track of what video I am editing on. With the first two videos turn on I now scale the second video down to size and adjust it until it is centred with the first one I adjust the opacity down to 45% so I can tell if it is centred. Once I am happy with this I mask the footage so it blends with the first video creating the making the zoom illusion look better. Next I had to create a new layer, a camera layer this is how I am going to zoom into the footage. I created key frames for the opacity and the X and Y motion of the camera. The key frames work in tandem with each other as we zoom with the camera we bring up the opacity at the same time. I now have repeat the process over and over until I have done this to all of the footage. |
  |
|
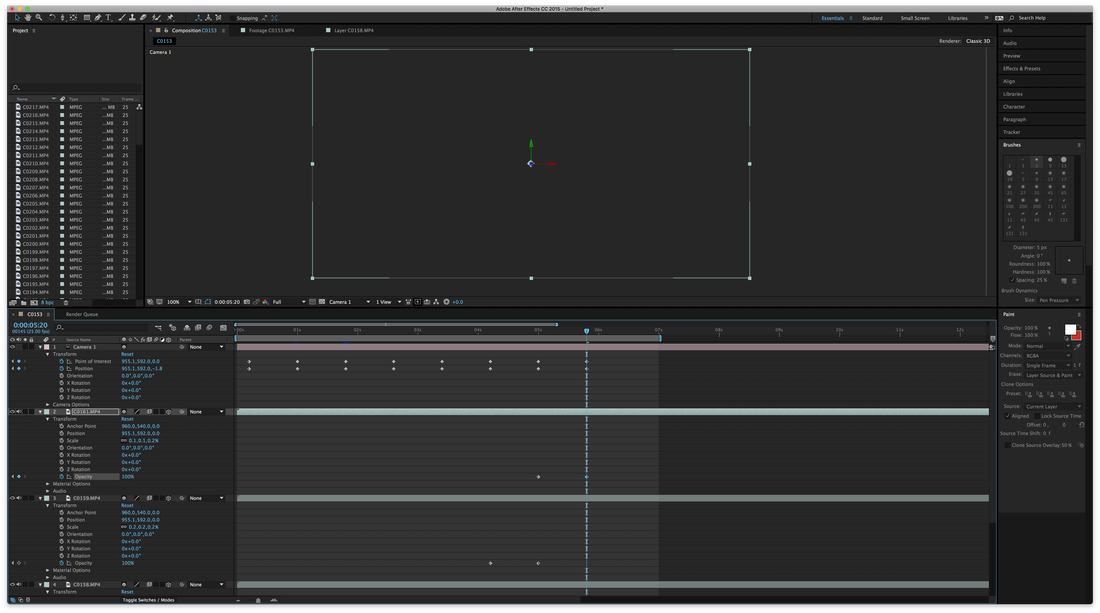
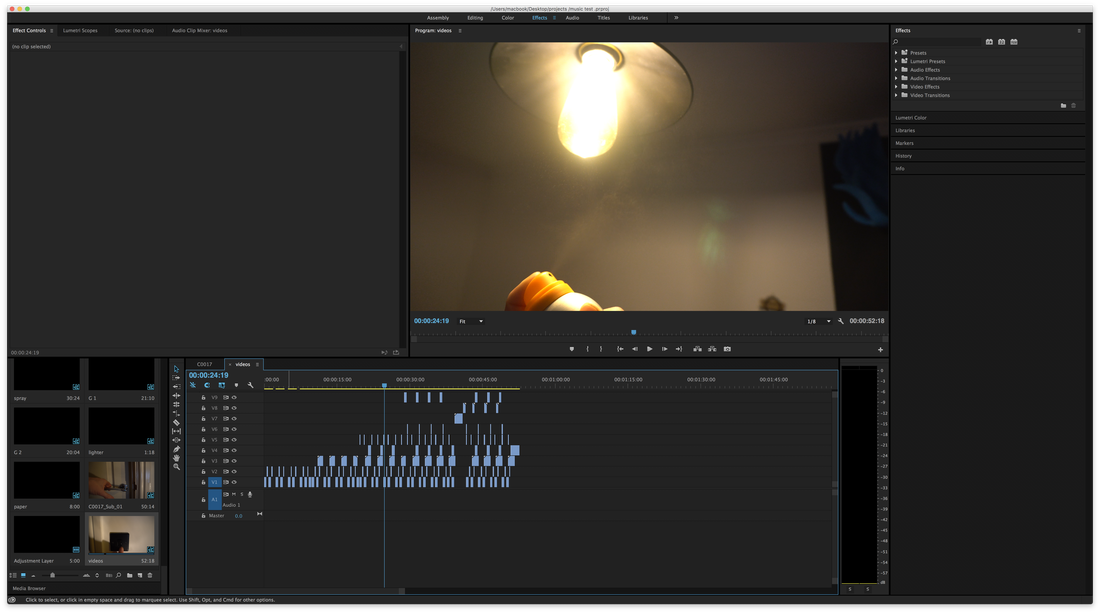
What went wrong! So I had a problem in the post production while trying to create the zoom process, after editing the fourth video I became hard to scale, create a feather mask and hard to use as in general. After trying to edit the seventh video I had to stop because of the software I couldn’t zoom out to scale the footage down to size it, I decided to stop and render what I had. |
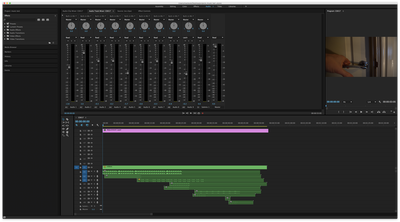
Finished project |
Evaluation
What I did
For this experiment I had to learn about how the VFX department created the effect in the film using camera equipment and software. Lucky I found an article online explain how they used their camera equipment and I came to the conclusion that I would not be able to recreate how they did as they used three 8k cameras with different focal lengths on each there was also nothing in the article about what software they used. So I decided to go ahead and try with my camera and my 16mm lens and see how it turns out.
I used Adobe After Effects to create the zoom; I had to look on Youtube and I found a tutorial that creates a similar effect. So I taught myself how to do it, it worked for the first few clips but I ran in it problems with the software I was unable to zoom anymore so I had to render what I had out this was unfortunate.
My performance
I believe it worked hard on this experiment, I set out a goal and I achieved it, it might not be perfect but the video show that experiment works. I had to over come some problems with not having the correct equipment and the software but I think I made the correct decisions throughout this project.
Flow
|
23.01.17
Preproduction, flow Today I showed Jodie how to rotoscoping on after effects, I learnt this over the weekend by watching tutorials on Youtube. what is rotoscoping? rotoscoping is painting an object or objects out of the scene, frame by frame. It is very easy to do this effects in After Effects. So we decided to work together and create a short film using this technique. We set up my camera using a flat image to get extra dynamic range for colour grading and went in to Carlisle to capturing some footage of the bypass, a traffic light, escalator in water stones and outside Eds diner. We then went back to college and reviewed the footage. We then spilt up and work on a scene each as rotoscoping is a long process and takes along time. We work straight for four and a half hours I then gathered all of the footage and started editing it in final cut I filmed it in such a way to the transitions will look good something I have been researching how to do. We used some sound effects that work really well some for comedy effect and electric for the Eds dinners scene works really well gives it extra depth and some the smooth jazz as backing music that fits it perfectly with the randomness of rotoscoping. Evaluation My performance
It’s rare that something doesn’t go wrong on a production or and experiment but on this production nothing went wrong. We leant a new tool’s to using in our future projects, created a short film to show the rotoscoping. We set a goal and we met it all with in one day of college. I am very happy how this turned out the experiment looks very good. |
Finished Project |
The Dance
|
What is it? finish
|
   |
Review and evaluation finish
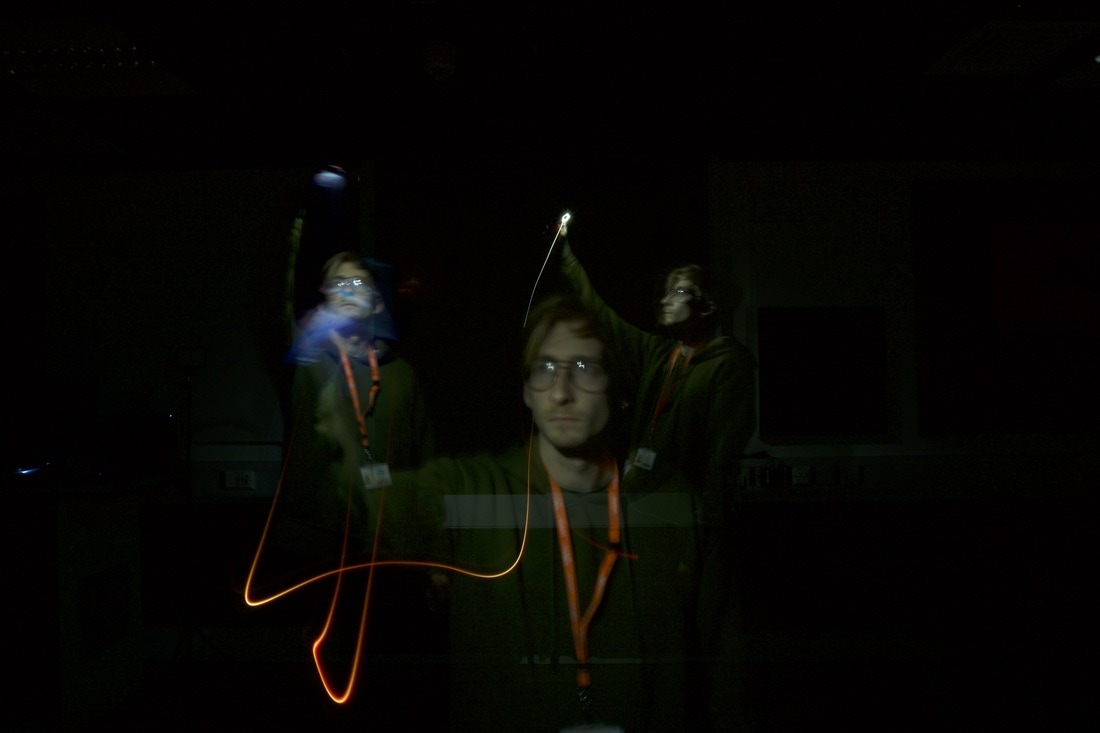
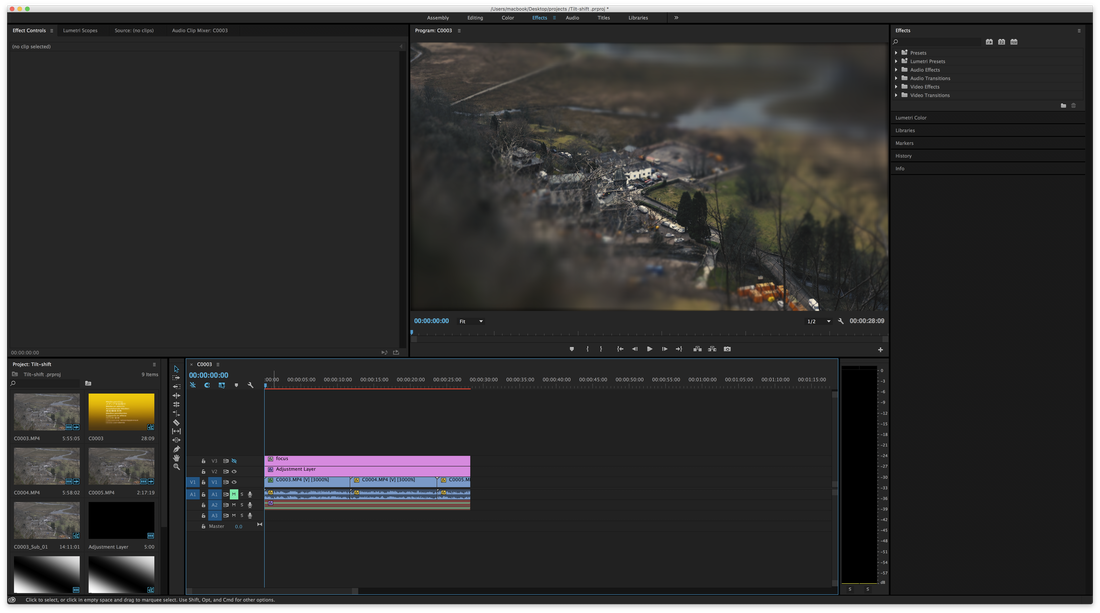
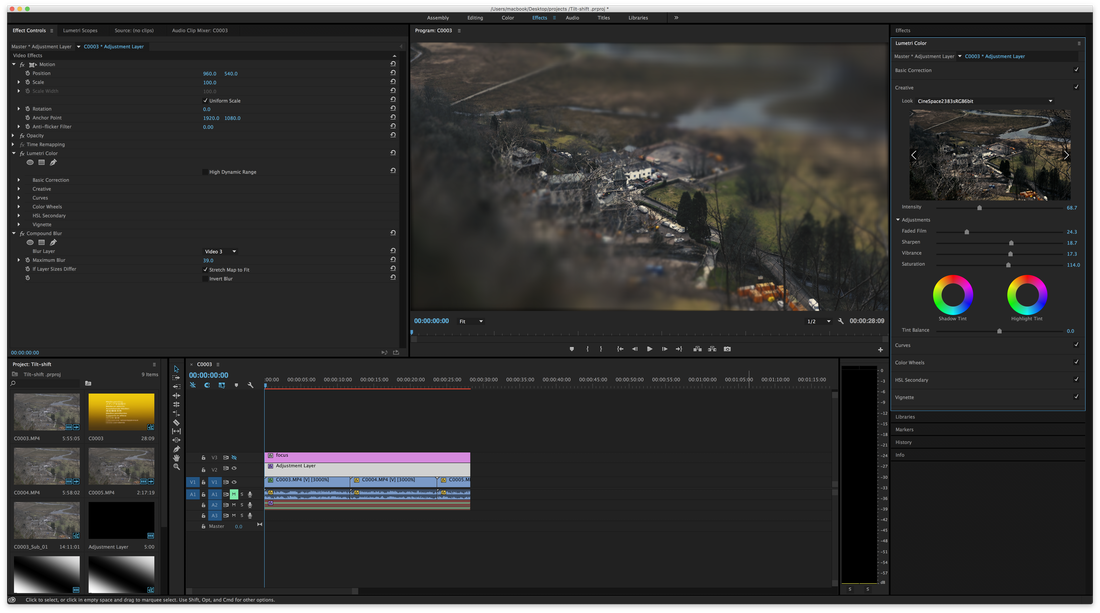
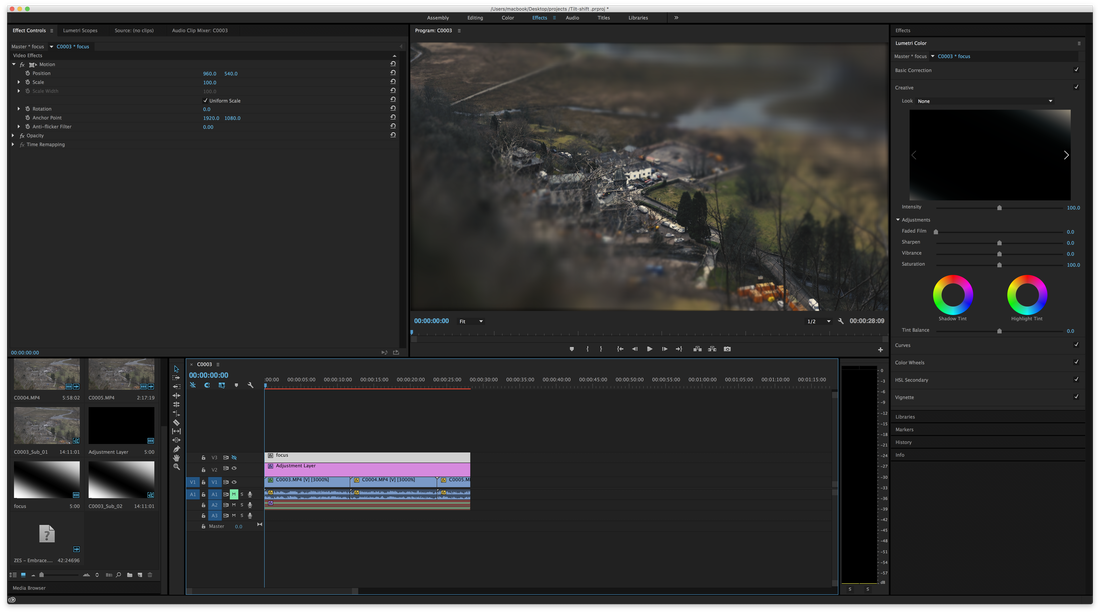
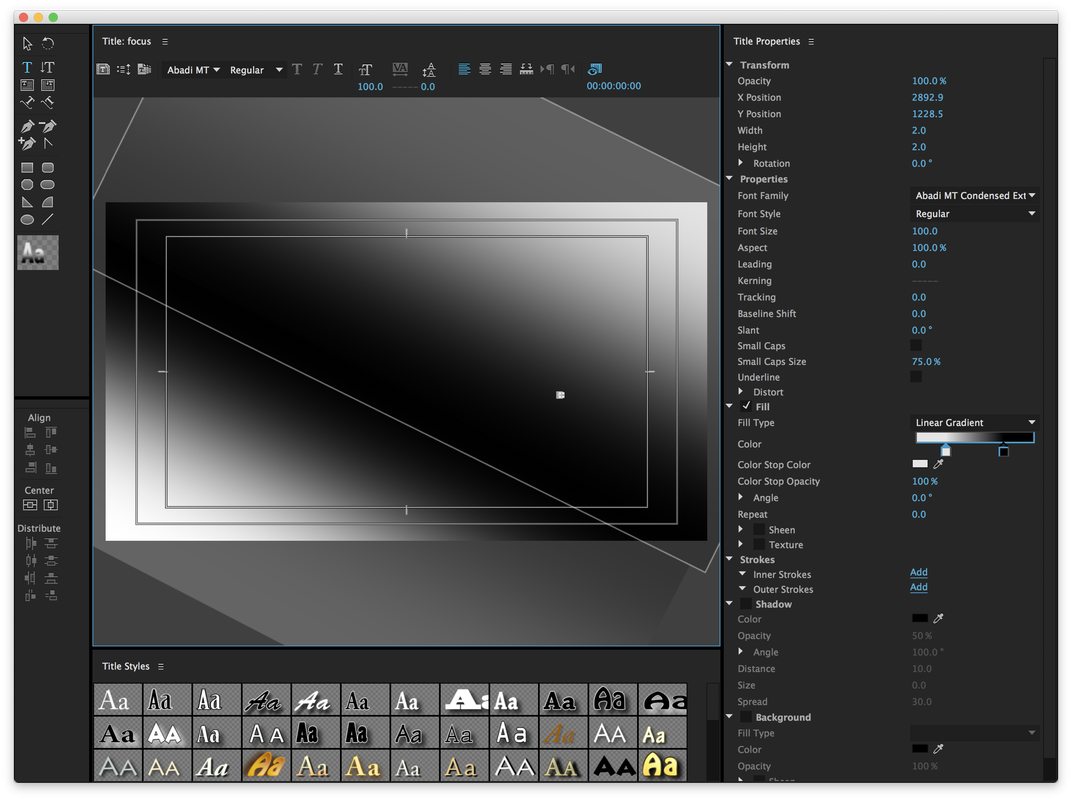
Time-shift
What is it?finish
|
|
|
|
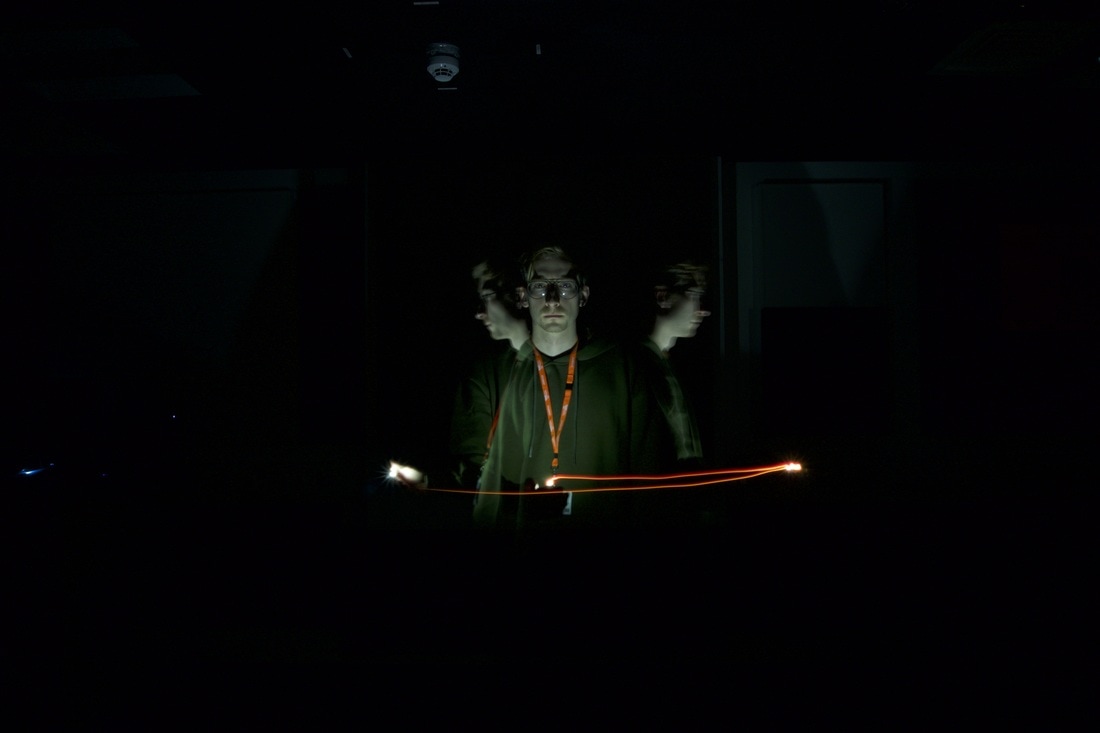
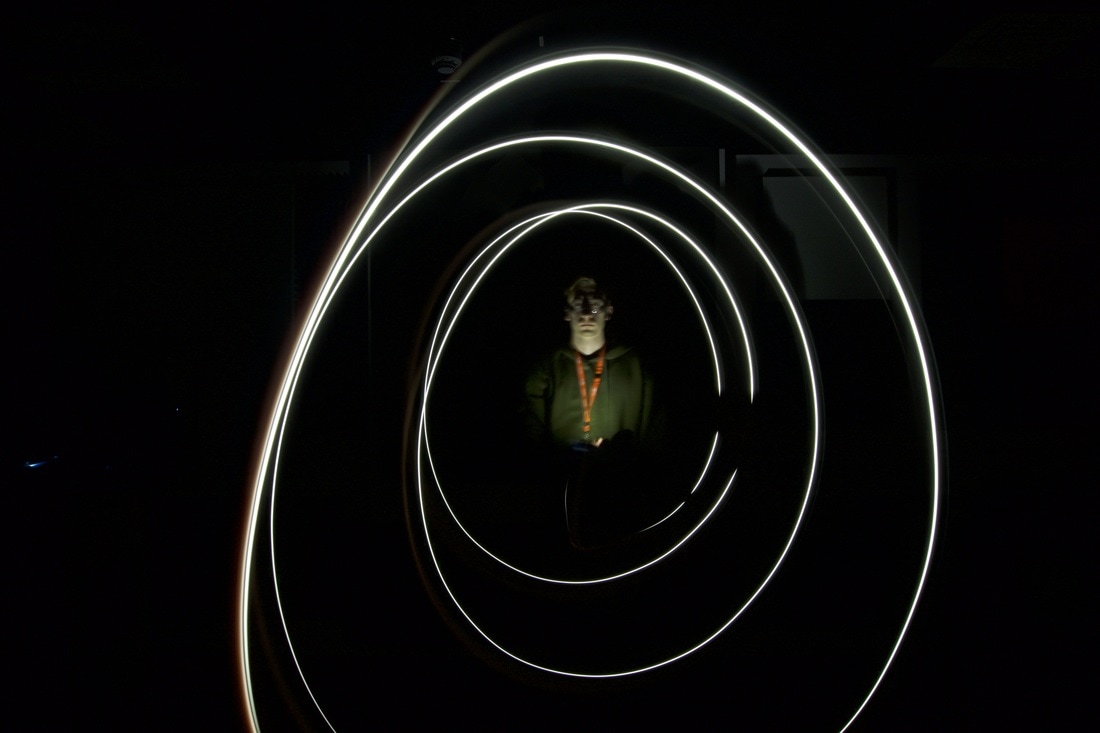
How to do it? finish
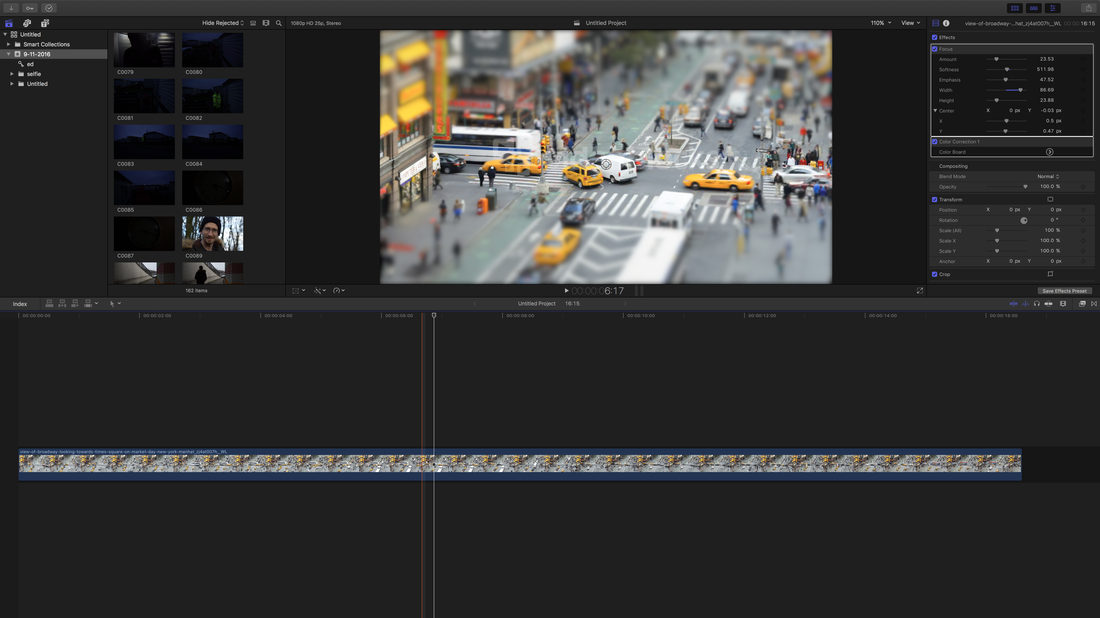
The results finish
|
|
|
Review and evaluation finish
|
Second time with stock footage finish
|
|
Review and evaluation finish